How to Render a Model in SketchUp
SketchUp is a highly popular and easy-to-use 3D modeling software widely used in architecture, interior design, landscape design, and many other fields. Whether you're a beginner or an experienced designer, mastering how to render a model in SketchUp is an essential skill for improving the presentation of your work. Rendering not only makes your design visually striking but also helps clients better understand your design intentions, and even aids decision-making during the design process.
In this article, we will explore in detail how to render models in SketchUp. We will guide you through basic rendering settings, material and lighting adjustments, and how to use third-party plugins to enhance rendering quality. By the end, you'll have a solid understanding of SketchUp rendering techniques, helping you create more realistic and appealing design presentations.
The Importance of Rendering in Design

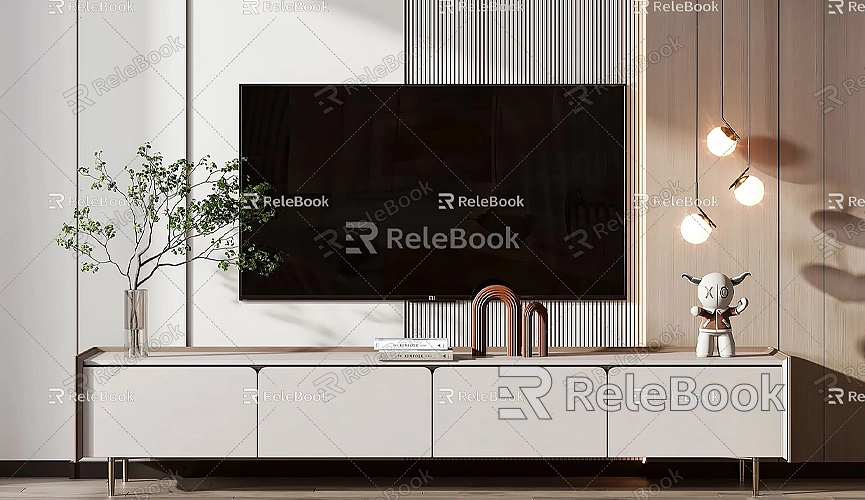
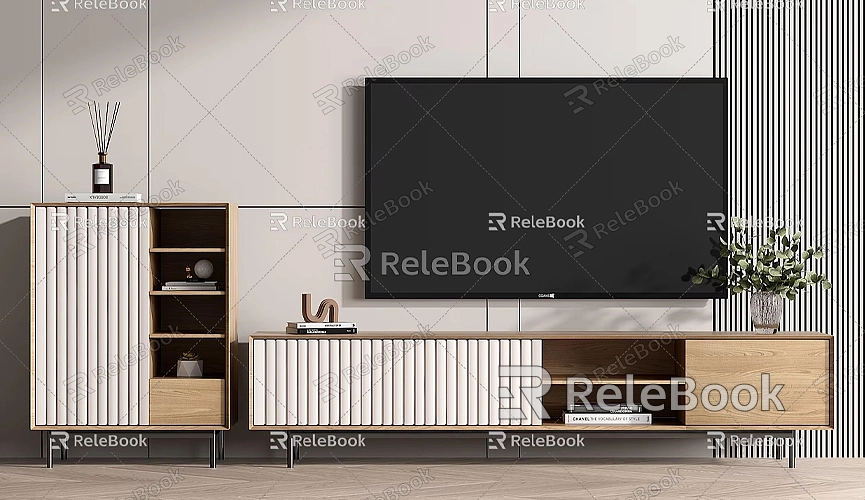
Rendering is the process of converting a 3D model into a 2D image or animation. It simulates real-world effects such as lighting, materials, and textures to present a more realistic visual representation. For architects and interior designers, rendering is not only a key tool for showcasing design concepts, but also helps identify potential issues in the design before construction begins.
Through rendering, designers can visually assess aspects like lighting effects, material details, and the overall atmosphere of a scene. Furthermore, rendered images make it easier for clients to understand a design, helping them make more informed decisions.
How to Render a Model in SketchUp
Rendering a model in SketchUp is not as technically complex as other 3D modeling software. SketchUp comes with some basic rendering tools and features, and by installing third-party rendering plugins, you can significantly improve the quality of your renders. We will begin by explaining SketchUp’s basic features and then walk you through the process of rendering a model.
1. Setting Up Materials and Textures
Before you begin rendering, the first step is to apply appropriate materials and textures to your model. The choice of materials and textures is crucial to the final rendering effect, as they directly impact the realism and visual quality of the model. SketchUp comes with an extensive material library that you can choose from based on the needs of your project. If you require higher-quality textures, you can download more custom textures or texture packs from the web.
If you need high-quality 3D textures and HDRI images for your model and virtual scenes, you can download them for free from https://textures.relebook.com/. Relebook offers a variety of 3D texture resources that can add more detail to your design, making your rendering more realistic and vibrant.
2. Lighting Setup
Lighting plays a crucial role in rendering. Proper lighting can add natural shading effects to your model, making the scene feel more realistic. In SketchUp, you can adjust the intensity and direction of the light using the "Shadows" tool. You can simulate different times of day, such as morning, noon, and evening, to observe how the lighting changes.
For designers seeking higher-quality renderings, SketchUp’s default lighting may not provide enough detail. To achieve better results, you can use HDRI (High Dynamic Range Imaging) to enhance the lighting effects. HDRI provides more lighting information than regular images, allowing your model to achieve more natural lighting and reflection effects.

3. Using Camera Views
The camera angle and field of view are equally important when rendering. By adjusting the camera view, you can achieve different visual effects and focus areas. SketchUp allows you to adjust the camera's position, angle, and focal length to ensure you get the best possible view when rendering.
You can use the “Camera” tool to set various perspectives, and even create and save multiple views as separate scenes. This allows you to efficiently render from different angles when needed.
4. Render Settings
Once you've set up materials, lighting, and the camera view, you can proceed to render the model. While SketchUp itself does not have advanced rendering features, you can improve rendering quality by adjusting some settings, including image resolution, rendering mode, and quality settings.
By default, SketchUp provides lower rendering quality, suitable for basic visualization. However, if you need higher-quality renders, you’ll need to use rendering plugins to enhance the results.
Using Rendering Plugins to Enhance Effects
To improve rendering quality and speed, many SketchUp users choose to use third-party plugins. Rendering plugins provide more realistic lighting, finer material textures, and more detailed rendering processes. Below are a few popular rendering plugins for SketchUp that can significantly improve your rendering results.
V-Ray for SketchUp
V-Ray is one of the most popular rendering plugins in the industry, widely used in architecture, interior design, and film production. Known for its realistic rendering and powerful capabilities, V-Ray can simulate lighting, shadows, material reflections, and more, making your renderings closer to real-world visuals.
V-Ray offers many advanced features such as global illumination, ray tracing, and physical rendering, helping you achieve realistic and detailed results. With V-Ray, you can adjust lighting, materials, and handle complex effects such as reflections, refractions, and transparency during the rendering process.
Enscape for SketchUp
Enscape is a real-time rendering plugin that allows you to view renderings instantly as you work on your model. Its biggest feature is VR (Virtual Reality) support, enabling users to view the rendered model in a virtual reality environment, offering an immersive design experience. Enscape is easy to use and ideal for designers who need quick renders and real-time visualization.
Although Enscape’s rendering quality may not be as refined as V-Ray’s, its real-time rendering capability greatly enhances the designer’s workflow, especially when frequent adjustments to lighting, materials, and camera angles are needed.
Thea Render for SketchUp
Thea Render is a professional rendering plugin combining both physical and artistic rendering. It’s suitable for high-quality projects, offering advanced settings such as global illumination, reflection, refraction, and transparency. Thea Render supports both GPU and CPU rendering modes, allowing users to choose the best method based on their hardware.
Additionally, Thea Render offers multiple output formats, making it adaptable to various project requirements.
Rendering Optimization Tips
When rendering a model, optimizing both rendering quality and rendering time is crucial. Complex scenes and large models can consume a lot of time and computational resources. Here are some optimization tips to help improve rendering efficiency:
1. Simplify the Model: The complexity of the model directly impacts rendering time. Reducing polygon count, removing unnecessary details, and optimizing the model structure can significantly improve rendering speed.
2. Use Proxy Objects: SketchUp supports the use of proxy objects during rendering. Proxy objects maintain the appearance and detail of complex models while drastically reducing computational load during the rendering process.
3. Optimize Lighting and Material Settings: Complex lighting and material settings can slow down rendering speed. Avoid using too many light sources or overly intricate material settings to improve rendering efficiency.
4. Lower Rendering Resolution: If you only need a quick preview of the rendering, lowering the resolution can speed up the process. For the final render, increase the resolution to achieve better detail.
Rendering is the key step in transforming your SketchUp model into a realistic visualization. It not only helps designers better showcase their concepts but also allows clients to understand the design details more clearly. While SketchUp’s basic rendering features can meet simple needs, using professional rendering plugins is undoubtedly a wise choice for achieving higher-quality results.
Whether it's V-Ray, Enscape, or Thea Render, each rendering plugin has its unique advantages and characteristics. Designers can choose the most suitable plugin based on the needs of the project. Additionally, by applying some rendering optimization tips, designers can improve the quality of their renders while saving time.
If you need high-quality 3D textures and HDRI images for creating models and virtual scenes, you can download them for free from https://textures.relebook.com/. For beautiful 3D models, visit https://3dmodels.relebook.com/. Relebook offers a large collection of high-quality 3D resources that can enhance your design and rendering effects, making your 3D models more vivid and realistic.
With practice and experience, you will be able to achieve more impressive rendering results in SketchUp, meeting the needs of various design projects and creating stunning visualizations.

